

The State Of The Chipi
Building The Darn Thing Part 5 of n
Well, I went through a quick blitz of making things, then kind of dead-ended. By which I mean I ran out of parts and had to stop work. But heres what I got done.
Steering:
I built the steering column! And made a steering wheel! And didnt take any pictures, but heres some video of what it looks like laser-cutting 3/8 acrylic on a 30W CO2 laser.
And then I had a rolling chassis, and wanted to drive but had no power. So I decided it was time to soap-box derby this thing.
No, I didnt crash at the end. But I did break the steering wheel in half. I dont know what I was expecting; it was about ten below zero outside.
It was at this point that I realized that I had nothing else to do but put motors and brakes on it. And I didnt have motors yet, so I stopped short.
Until today, when I got a box from Hong Kong.
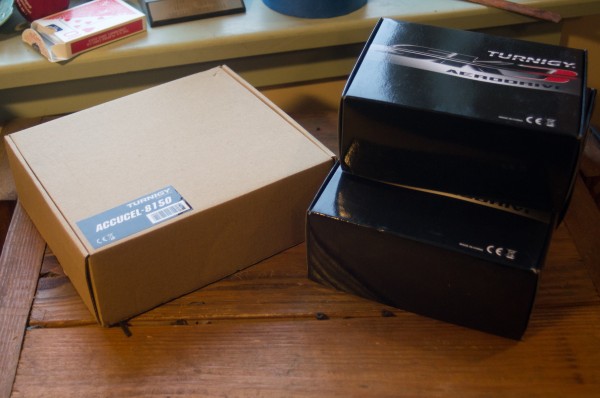
Motors and a battery charger! But lets focus on the fun bit of that.
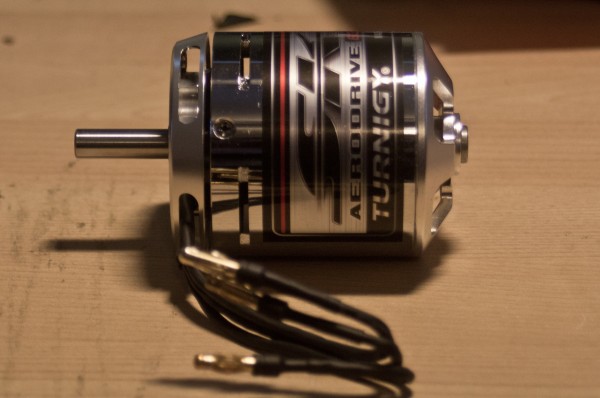
The motors are Turnigy SK3 6364. I love these things. Theyre actually well built. The magnets are glued in, the stators are pinned, the windings are tidy(ish), and they have can bearings! This one also has a fairly low kV (180), and 2400 Chinese watts of power. Oh yeah. Now that I have them, I can model them, put them in the ChipiKart CAD file, and design some motor mounts. Other projects can wait, Ive got motors to put on things.
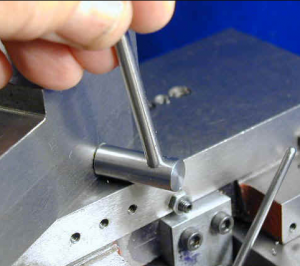 My tool post was butting up against the edge of the compound, and so I couldnt rotate it to set it straight. Actually, When I first got the tool post, it didnt fit at all. I had to mill a bit away so it would sit flat. I didnt think to mill away enough to be able to turn the post. Derp.
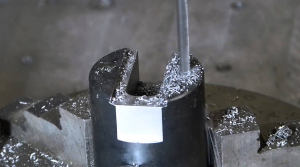 One thing that I considered in my decision to build this was cost. And because I dont just happen to have large diameter pieces of steel lying around, that could be pretty high. And then, when looking at metals, I noticed that for some reason, fine grain cast iron was cheaper than steel. And after a lengthy discussion on the HMEM forums, I reached the conclusion that cast iron would be alright.
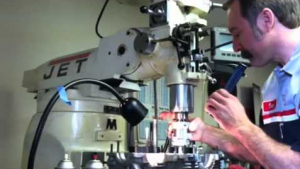 I popped one in the 4-jaw chuck, and faced the end again. I now have an end thats flat and straight as long as its in the same setup. I then turned down a section to 1.395, as called for in the prints. That section is now actually round and perpendicular to the faced end. This end of the workpiece is now a datum, a reference that I know and can work off of for my next operations.
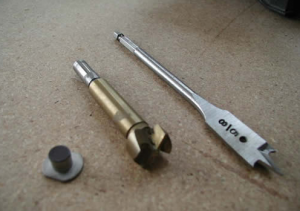 A sharp carbide cutter works wonders on tool steel. I got to about 0.0005 over my final diameter, then brought it down with some 220 and 600 grit sandpaper (with oil) on a parallel to keep everything nice and flat.
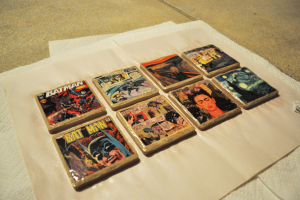 Cork cuts like a dream. Smooth edges, and I can cut pretty deep. I was using depth passes of 0.08, but really could have done 0.12 (or deeper) if I wanted.