

Building The Darn Thing Part 5 of n
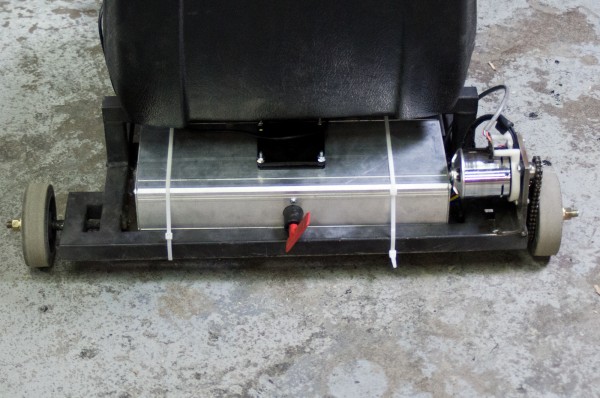
Maker Faire San Mateo is quickly approaching, and with it the first event of the 2013 Power Racing Series. Which means that ChipiKart is going to have to be much more than a gravity-powered death trap, and fast. With this deadline in mind, Ive been plowing ahead, and am pleased to present this thing.
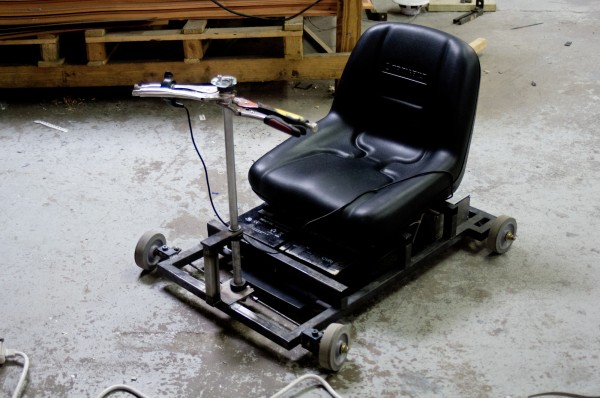
Its most of a ChipiKart. With some changes. The original steering wheel was made of 3/8 thick acrylic, which is brittle enough as is, and really didnt last long in the sub-zero temperatures I tested it in. In the absence of a suitable replacement, I used two vise-grips as a replacement. It works, so stop judging me. It also has one drive motor hooked up, so it moves under power. Theres still no brakes.
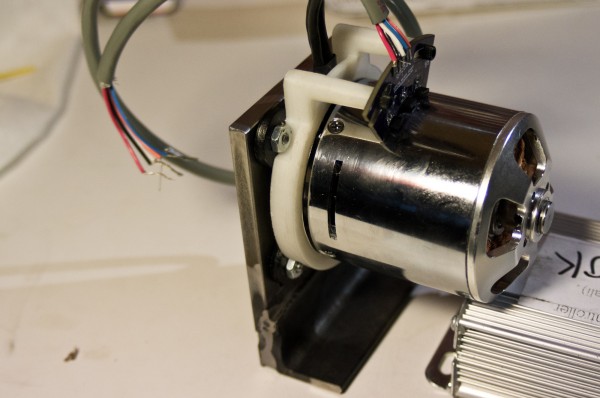
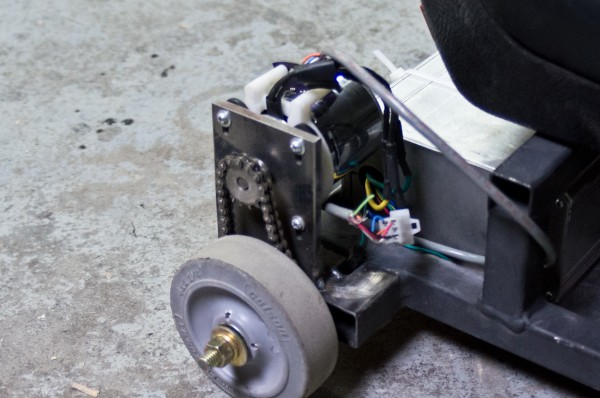
Heres my motor unit. Its the SK3 6364 motor from last time, but mounted to a bodged-up mount. Theres also a 3D printed bracket holding some sensors.
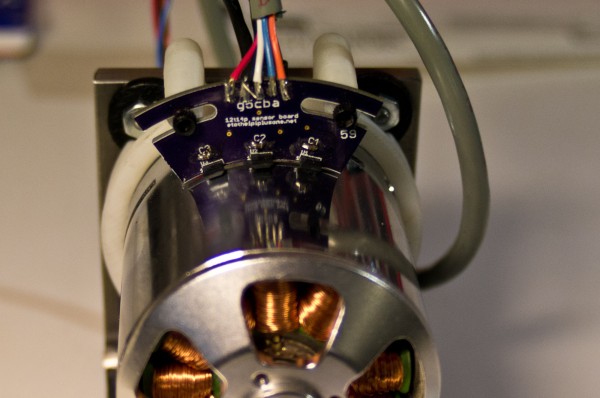
The sensor board (courtesy of Big Chucks Robot Warehouse) is mounted to the motor with a 3D printed ring. The sensors provide a position reference for the controllers so that the motors can commutate properly in a zero-RPM condition. This means that I can start from a stop, or a stall. Handy.
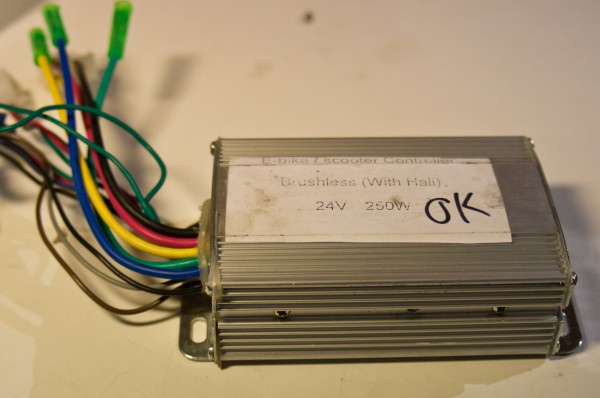
And heres the controller Im using. Its a generic shady Chinese controller, with some modifications. Ive replaced the no-name FETs with nice IR FETs that will dissipate less heat, and Ive upped the current limit from 10A to somewhere above 60A. Well see how that goes.
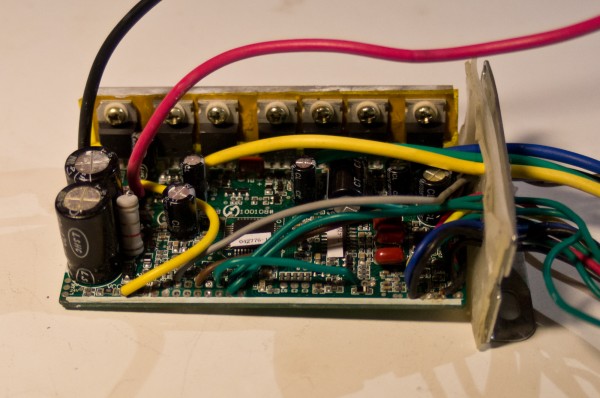
Heres the inside of the controller, just for the curious. If you want a good tear-down, look no further that Charless excellent report.
Moving on, putting motors on the Kart. I was planning on bolting the motor mount to the frame so I can adjust it, so I put on a few tacks with the MIG welder to hold it in place while I drilled it. I ended up liking the way it was aligned, so I ditched the bolts and just welded it.
Because I dont want everything on ChipiKart to eb a complete hack, I decided to make the controllers look nice. I hacked off a hunk of aluminum box extrusion and made a nice enclosure which I will name ChibiTroller. It houses a 300A cutoff switch, proper anderson power connectors, two Jasontrollers, a cooling fan, and some arduino telemetry stuff that I dont really understand. The goal is to be able to report back to pit lane in real time various different sensor readings. I havent installed any sensors yet, nor have I decided what I want.

